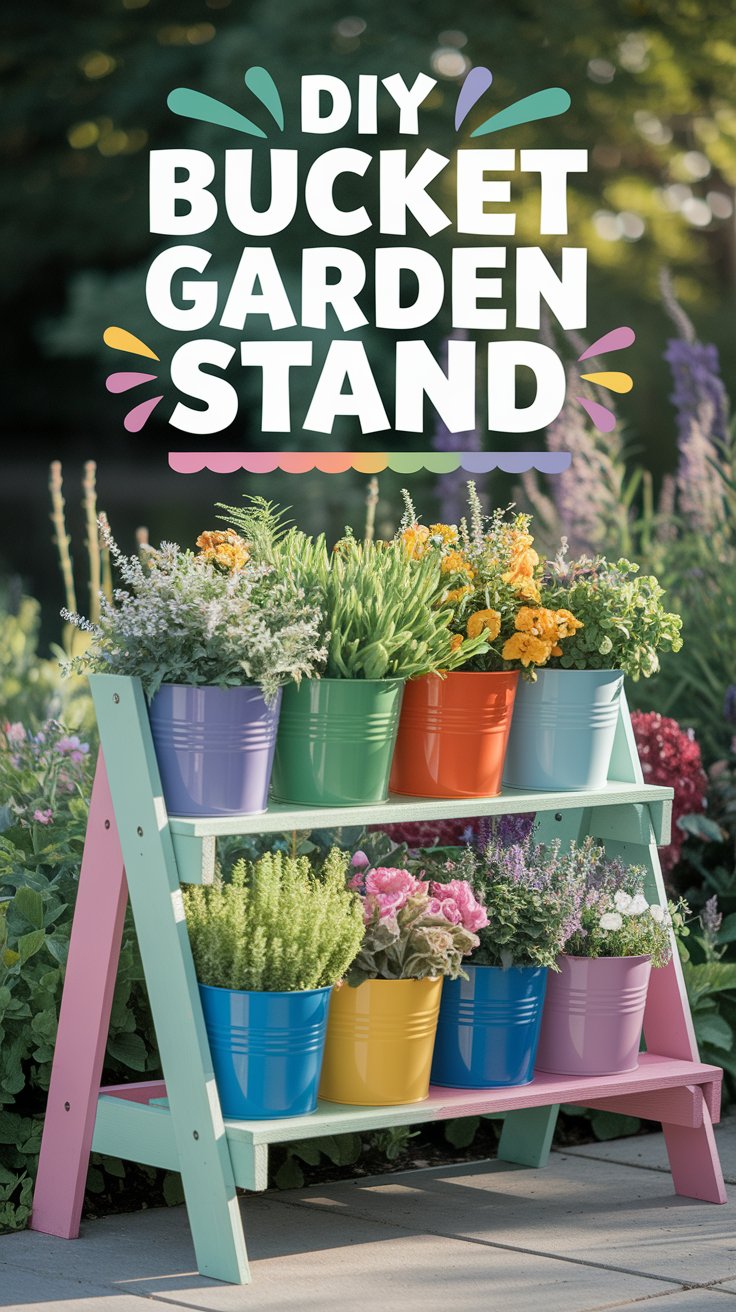
10 Easy Steps to Build a Stunning Bucket Garden Stand for Maximum Space Efficiency
Are you looking for a creative way to grow plants in limited space? A bucket garden stand might be the perfect solution! Not only is it a space-saving marvel, but it’s also affordable, customizable, and perfect for both beginners and seasoned gardeners. In this guide, we’ll walk you through 10 easy steps to build your own bucket garden stand that will transform your gardening game.
Why Build a Bucket Garden Stand?
Before we dive into the steps, let’s talk about why a bucket garden stand is worth your time:
- Space Efficiency: Perfect for small balconies, patios, or even indoors.
- Portability: Easily move your garden to optimize sunlight or protect plants from harsh weather.
- Customizability: Grow herbs, flowers, or vegetables in a way that suits your needs.
- Cost-Effective: Uses inexpensive materials like buckets and basic wood or PVC pipes.
Materials You’ll Need
Here’s what you’ll need to get started:
- 5-gallon buckets (number depends on your design)
- Wooden planks or PVC pipes (for the frame)
- Screws, nails, or zip ties (for assembly)
- Drill (for drainage holes)
- Saw (if cutting wood or PVC)
- Measuring tape
- Level (to ensure stability)
- Potting soil and plants (to fill your buckets)
Step-by-Step Guide to Building Your Bucket Garden Stand
Step 1: Plan Your Design
Start by deciding how many buckets you want to use and how you’d like them arranged. A tiered design works well for maximizing vertical space, while a single-row stand is simpler for beginners. Sketch your design on paper to visualize the final product.
Pro Tip: If you’re using wood, opt for weather-resistant lumber like cedar or pressure-treated wood to ensure durability.
Step 2: Cut Your Materials
If you’re using wood or PVC pipes, measure and cut them according to your design. For a 3-tier stand, you’ll need:
- Vertical supports: 4 pieces (height depends on your preference)
- Horizontal shelves: 3 pieces (width depends on bucket size)
Pro Tip: Use a miter saw for clean, precise cuts, especially if you’re working with wood.
Step 3: Assemble the Frame
Using screws or nails, assemble the frame according to your design. If you’re using PVC pipes, connect them with elbow joints and secure them with zip ties or PVC glue.
Pro Tip: Use a level to ensure your frame is straight and stable. A wobbly stand can lead to spills or accidents.
Step 4: Drill Drainage Holes
Drill 3-5 small holes in the bottom of each bucket to allow excess water to drain. Proper drainage is crucial to prevent root rot and keep your plants healthy.
Pro Tip: Place a layer of gravel or small stones at the bottom of each bucket to improve drainage further.
Step 5: Secure the Buckets
Place the buckets on the shelves of your stand. If needed, use brackets or zip ties to secure them in place. This step is especially important if your stand will be exposed to wind or frequent movement.
Step 6: Fill Buckets with Soil
Fill each bucket with high-quality potting soil, leaving about 2 inches of space at the top. This ensures there’s enough room for watering without spillage.
Pro Tip: Mix in compost or slow-release fertilizer to give your plants a nutrient boost from the start.
Step 7: Plant Your Garden
Now for the fun part—planting! Choose plants that suit your climate and sunlight conditions. Herbs like basil and mint, vegetables like tomatoes and peppers, or flowers like petunias and marigolds are great options.
Pro Tip: Group plants with similar water and sunlight needs together to make maintenance easier.
Step 8: Water and Mulch
Water your plants thoroughly after planting. Add a layer of mulch on top of the soil to retain moisture and suppress weeds.
Step 9: Position Your Stand
Place your bucket garden stand in a spot that receives adequate sunlight. If you’re growing vegetables, most will need 6-8 hours of sunlight daily.
Pro Tip: Use casters or wheels on the bottom of your stand to make it easier to move around as needed.
Step 10: Maintain and Enjoy
Regularly check your plants for water, pests, and growth. Prune as needed and enjoy the fruits (or flowers) of your labor!
Final Thoughts
Building a bucket garden stand is a simple, rewarding project that can transform your gardening experience. Whether you’re a city dweller with limited space or a seasoned gardener looking for a new challenge, this DIY project is both practical and fun.
So, grab your materials, follow these steps, and get ready to enjoy a stunning, space-saving garden that’s uniquely yours. Happy gardening!